Includes affiliate links. We may earn a commission if you make a purchase at no extra cost to you.
- Prep clean, oil-free skin for better hold
- Fit the wig before applying adhesive
- Apply Bold Hold in thin layers
- Melt the lace with a tie-down band
- Use remover for gentle lace removal
There’s something so satisfying about a clean, seamless lace install. The soft melt, the natural hairline, the confidence of knowing everything is secure. But when you’re doing it at home, it can feel like you’re trying to recreate a magic trick without the magician. If that’s familiar, you’re in good company. Many of us want that polished, professional finish without booking an appointment every time.
That’s exactly why The Hair Diagram, founded by master stylist and educator Tamika Gibson, has earned such a devoted following. Her products aren’t just about hold. They’re about helping women care for their hair, protect their scalp, and feel capable of doing their own installs with real results. Whether you’ve installed lace for years or you’re finally ready to try it on your own terms, the right tools and a simple process make everything much easier.
Below is a clear, beginner-friendly walkthrough of how to get a smooth, natural-looking install from home, plus the editor-approved products from The Hair Diagram that support every step. And if you’re planning a restock, keep an eye out for their upcoming After Christmas Sale.
How to Install a Lace Wig at Home (Beginner Friendly)
Step 1: Start With Clean Skin and a Smooth Hairline Prep
A long-lasting install always starts with prep. Removing oils, makeup, and buildup gives your adhesive something to grip, and a protective barrier keeps your hairline safe.
What helps most:
- Clean the skin with an alcohol-based cleanser
- Apply a scalp-protecting barrier, especially if your skin is sensitive
- Allow everything to dry completely before adding adhesive
It’s a small step, but it sets you up for success.
Step 2: Fit and Place the Lace Before You Commit
Laying the lace down before the adhesive goes on makes your install cleaner and more symmetrical. You’re basically mapping out where everything should sit, so you’re not adjusting after the glue dries.
This helps you:
- Even out the placement
- Prevent lifting at the ears
- Make cleaner adhesive lines
Think of it as your blueprint.
Step 3: Apply Adhesive in Thin, Even Layers
Thick layers tend to clump or dry unevenly, so thin layers are your best friend. This is where Bold Hold genuinely stands out. It’s a pro-trusted adhesive because it dries clean, grips well, and doesn’t overload the skin.
How to apply:
- Start with a thin layer
- Let it turn clear
- Add 1–2 more layers, depending on how secure you want your install
Press the lace down once the final layer turns tacky.
Step 4: Melt the Lace for a Natural Hairline
Once everything is placed, a quick melt ties the whole install together.
Try this:
- Switch your blow dryer to cool
- Tie down the hairline with an elastic band
- Let it set for about 10–15 minutes
The result is that smooth, blended finish everyone loves.
Step 5: Removal Matters More Than You Think
Healthy edges make every future install look better. That’s why proper removal is essential.
Use a gentle adhesive remover, apply generously, and give it time to break down the glue. Avoid pulling or rubbing. When the remover does the work, your lace lifts easily and your hairline stays protected.
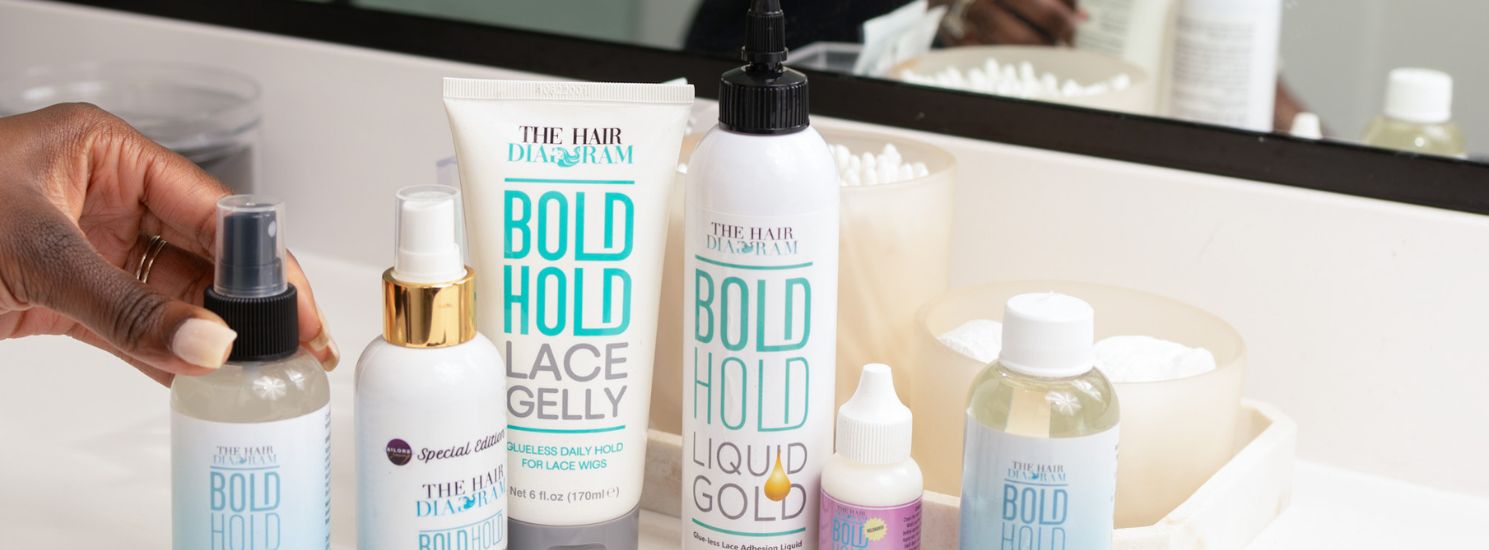
Editor-Approved Tools From The Hair Diagram
- Bold Hold Lace Adhesive: Reliable, secure, and skin-conscious. This is the adhesive stylists trust because it performs without compromising your hairline.
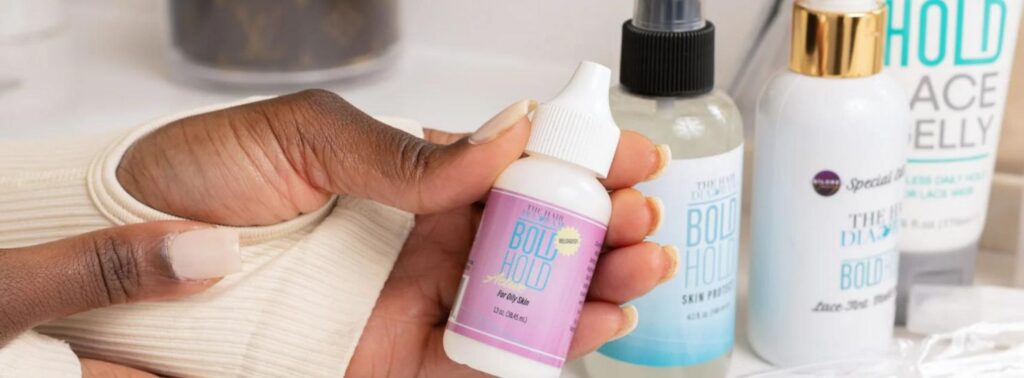
- Bold Hold Skin Protector: Creates a smooth, protective barrier for sensitive or active lifestyles.
- Bold Hold Remover: A gentle formula that breaks down adhesive cleanly, helping your lace lift without tension or damage.
Conclusion
A flawless lace install doesn’t have to feel out of reach. With a clear process and products designed by an expert who genuinely understands hair health, achieving a polished look at home becomes much more accessible. The Hair Diagram gives you the tools, the guidance, and the confidence to make each install better than the last.
If you’re thinking of upgrading your routine or trying lace installs for the first time, now’s a great time to explore their top products — especially with the After Christmas Sale on the way.